|
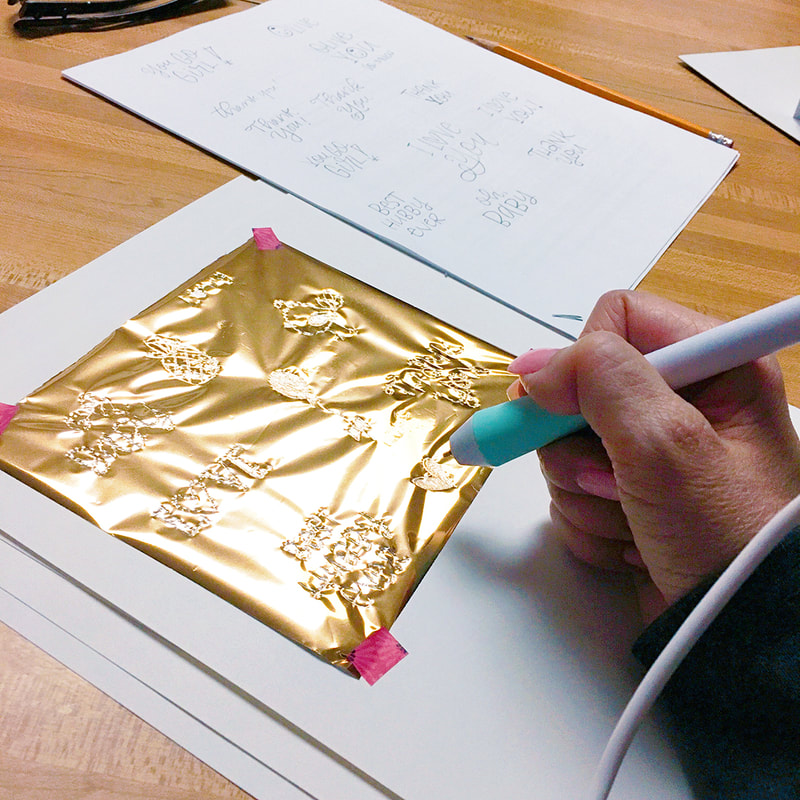
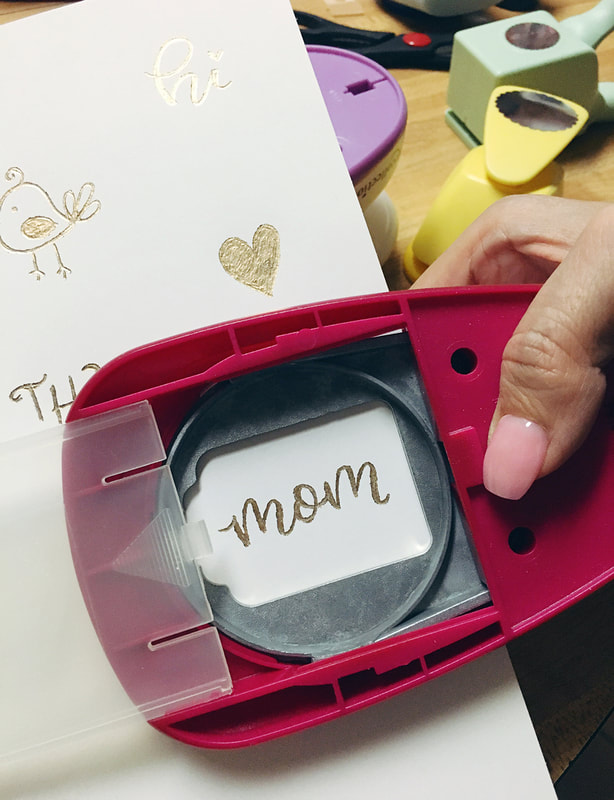
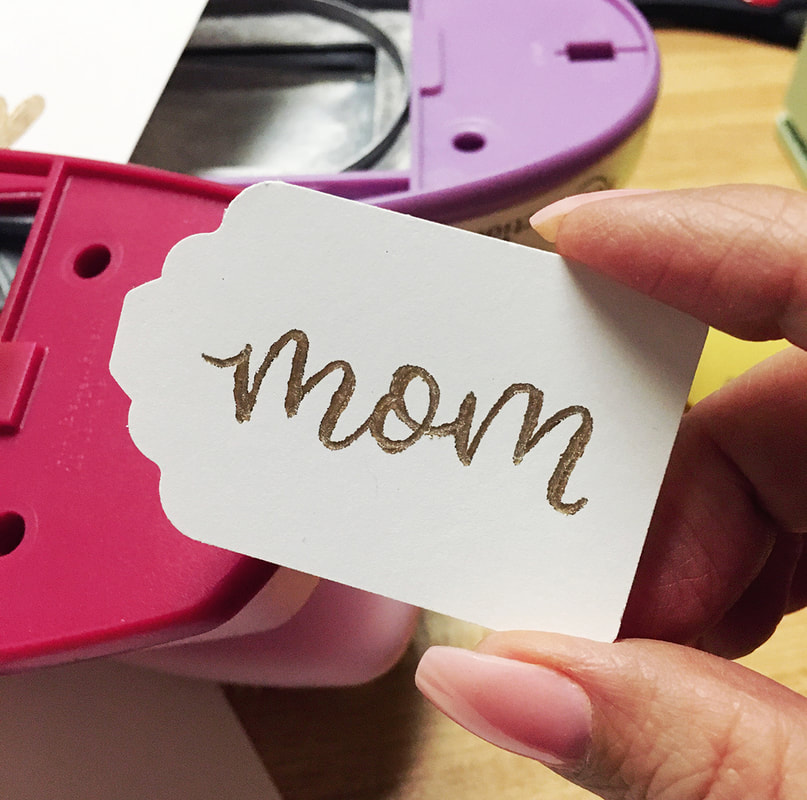
A friend of mine recently alerted me to this new device called the Foil Quill*, a heat pen that allows you do draw freehand over foil as it transfers your designs onto paper. That is a like a dream come true for a paper lover like myself, so of course I had to have it! The pen comes packaged with a roll of foil and a USB cord that you can plug onto the wall with an adaptor. It's not a very long cord, but I'm sure you can also plug it into your computer. Once I plugged it in, I gave it a few minutes to warm up while I secured a piece of foil onto a sheet of card stock with washi tape and warmed up my hand doing a few lettering and doodle exercises on an extra sheet of paper. After 5 minutes or so, the pen was ready and I began to draw directly on the foil. I drew slowly to ensure each stroke had enough heat to transfer. Once I was done, I used a variety of paper punches to cut out my individual designs which I will be using to make gift tags and gift enclosures. As you can see, the edges turn out a little rough. It doesn't have the precision that a laser would have, but it's not quite as noticeable from farther away. Besides, I think the rough lines give it a little more of that hand made touch. If you'd like to give this pen a try, I've included my affiliate link below for your convenience. It's a pretty fun tool to add to your collection; it definitely gives you the opportunity to expand your creativity and add a special touch to your paper projects.
Note: this is NOT a sponsored post. Just a paper lover sharing her latest finds.
0 Comments
Just a little lettering inspiration for those who have purchased my calendar templates. Don’t forget to tag me @PaisleyInParis on Instagram so I can see the pretty lettering artwork your calendar! If you’re in need of a calendar you can customize to your needs, click on the button below. Buy these templates once, print as many as you need and stay organized for years to come.
Flourishing are the fancy swirls that you add to letters to glam them up. While mastering this technique takes LOTS of practice, we can break the process into different steps to help you become a pro one step at a time. LETTERING TIP The best way to achieve smooth flourishing lines is to draw them quickly. The slower you draw the more “jumpy” your curves will look. And don’t forget that it takes a few minutes to warp up your hand and lots of hours of practice under your belt for this art form to feel natural to you. Do not feel discouraged if you don’t like what you see at first. It gets better, I promise! Don’t forget to follow me on Instagram and mention me in your caption so I can see your work. I still have a lot to learn, so let’s share our work and encourage one another. You can also sign up for my newsletter to receive occasional lettering tips and product updates directly to your email inbox. Just sharing a few lettering tips to help you get started with my new 2019 Calendar Template & Planner Set. The printable set includes three PDF files with:
They say necessity is the mother of invention and I couldn't agree more! This year, along with my Christmas gifts, I am including hot cocoa spoons with gifts to my family and friends AND I'm also offering them in some of my coffee mug gift sets.
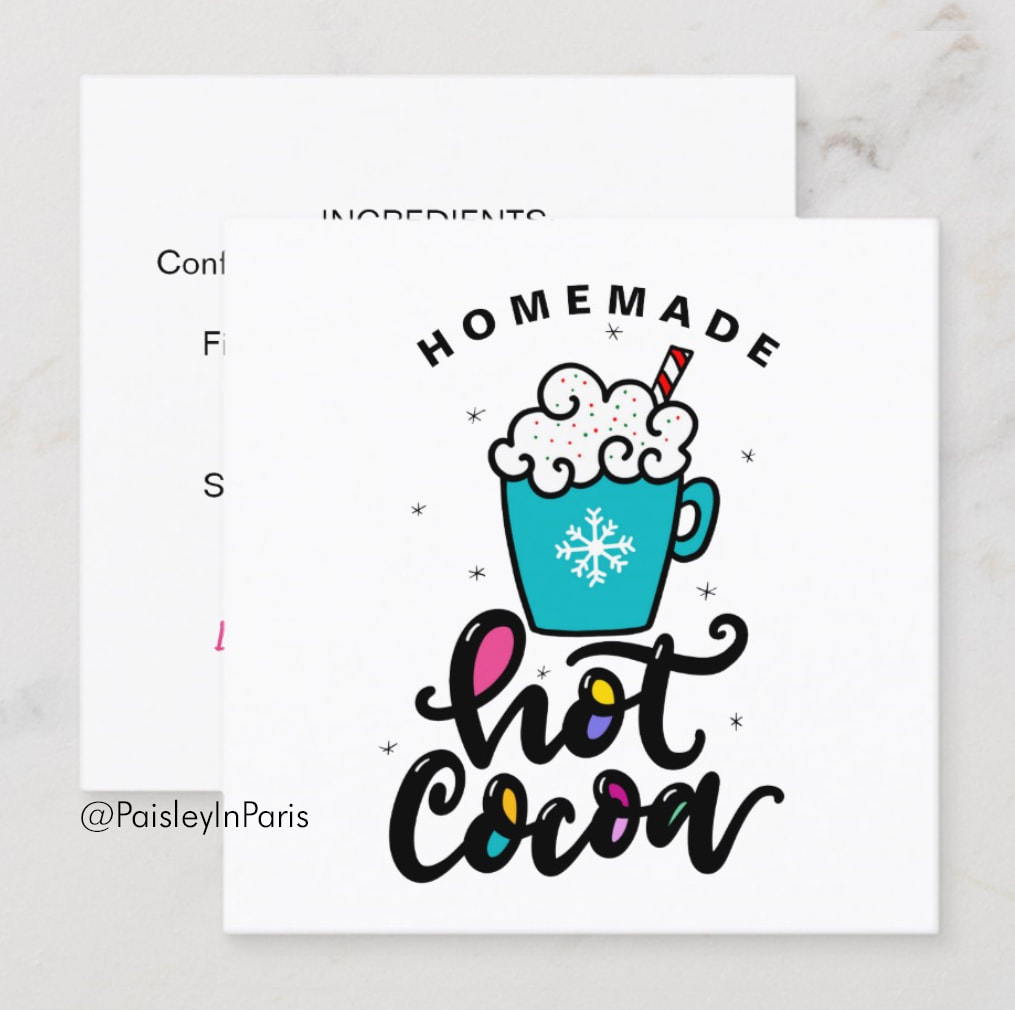
Since gluten and milk products trigger migraines and inflammation in my system, it is imperative that I read all food labels. This led me to create these cute little gift tags for others who are also gifting homemade hot cocoa mix or chocolate spoons. People with food allergies will forever be grateful that you took the time to include an ingredients list with your gift! The card measures 2x2 inches, it features my original hand drawn artwork on the cover and the text on the back can be customized to include your list of ingredients, instructions and can be personalized with your name. Now, as far as the chocolate spoons I made, I used @enjoylifefoods semi-sweet, diary-free, vegan and gluten-free chocolate chips to ensure EVERYONE can enjoy a cup of hot cocoa regardless of their dietary restrictions. I just melted the chocolate chips, poured them into each spoon, topped it with crushed peppermint candy, placed in the fridge to cool or a few minutes and wrapped them up to gift. Because I like to taste the chocolate in my hot cocoa, I use two spoons in 10 ounces of hot almond milk and add a dash a cinnamon. Yum! The chocolate spoons can also be used to sweeten your coffee and make a hot mocha. If you’re a chocolate lover, these treats will totally hit the spot! By the way, I still have a few mug sets available with gluten-free cookies and these diary-free chocolate spoons. Treat yourself or a loved one. You’ll love them! 😋
I received a question from a Stationery Boot Camp student last week that I thought I would answer with a video tutorial. The question is regarding the free color swatches I post on here every Monday, so I thought it would be appropriate to share this 4 minute video tutorial where I show you how to use the free weekly color file downloads, also known as the Monday Hues, and provide a brief explanation of why I created this weekly series color inspiration series.
Question: Regarding are the Monday hues: are those swatches not available in the software...is that why you have to upload them?
Answer: Adobe InDesign, Photoshop and Illustrator do come loaded with swatches - tons of them actually! However, there are times when selecting from a huge palette can be be overwhelming and mixing your own colors can be very time consuming. Please watch the 4 minute video below to learn more. NOTE: If the quality of the video is too low, click on the green link right under the video, it'll take you to Vimeo where you'll be able to see it at a higher resolution. Thanks!
If, for example, you are working on a wedding stationery set in Adobe Illustrator, it would be wise to create your own ASE color file containing the PMS colors used in your collection. You can then load your color file into InDesign to access the spot colors when creating the matching menus, wedding programs, envelope wrap-around labels, etc.
If you found this tutorial useful, please leave a note in the comments below and share with your friends - thanks! 
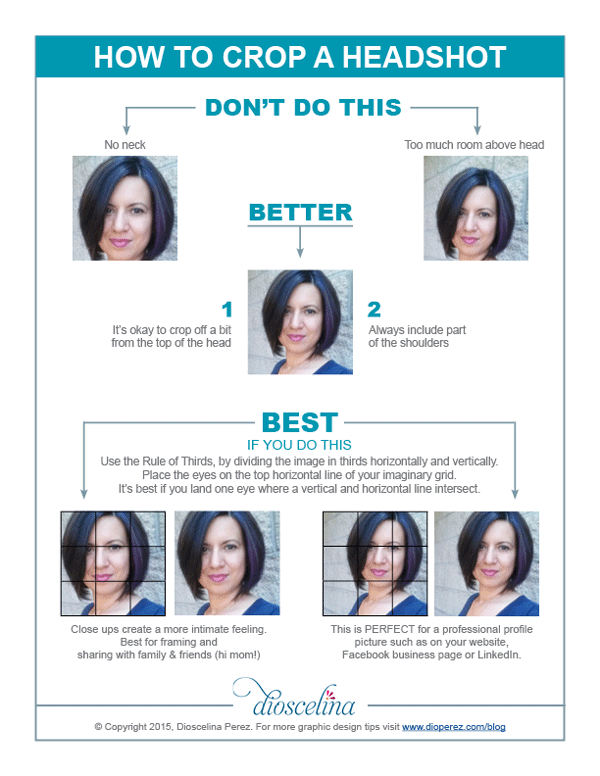
I went to register my daughter for middle school last Friday and I cringed when I saw the way the lady at the camera cropped the picture for her ID card. Way to ruin a good picture! Sigh...I see this all the time though, on newspaper articles, real estate ads, brochures, social medial profiles, etc. Many don't realize that the way you crop a picture really makes a difference in the way the image looks and "feels." Cropping can either enhance the subject in the image or have a negative impact on it. To illustrate this, I put together the chart below using a headshot of myself (minus the Minnie Mouse ears), providing tips on what to avoid and what to do to get the best results.
Don't let bad cropping ruin your design layouts or profile pictures - make those images work in your favor!
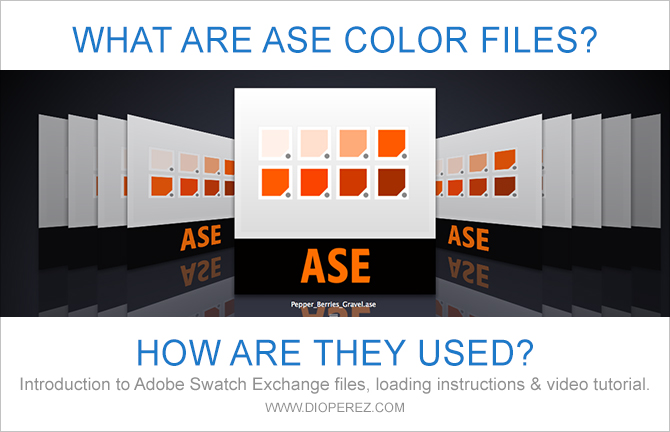
 Adobe Swatch Exchange (ASE) files are a convenient way to save and share color swatches (also referred to as color libraries, or color palettes) that can be easily loaded into Adobe InDesign, Illustrator, and/or Photoshop swatch palettes. This makes it very easy to access specific colors when switching back and forth between any of the three software applications. Video tutorial for loading ASE color files into Illustrator In the second half of the video you can see me using the freshly loaded swatches to change the color of my puppy illustration. When and how can I use ASE color files? ASE color files can be created for technical use or simply for reference/inspiration, such as:
How to load ASE color files to Illustrator, Photoshop and InDesign
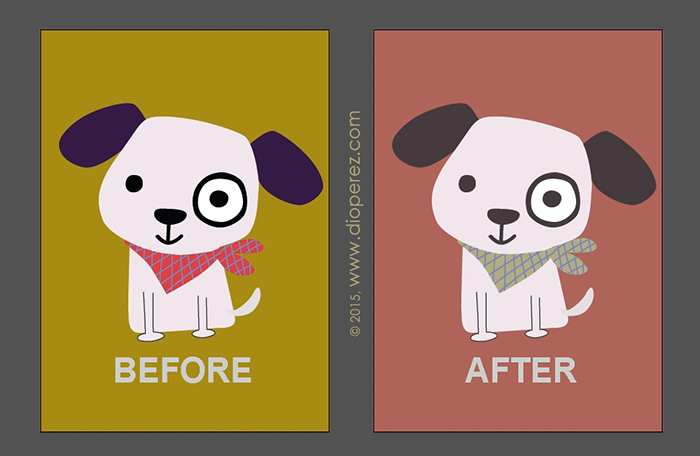
Below are the before and after shots of the puppy illustration. On the left is the original image, and to the right you see the new version featuring colors from my new "Pepper Berries on Gravel" color palette, available as a free ASE file download in my Monday Hues library. Hope you enjoyed this tutorial! If so, please share.
~ Dio Perez, Design & Illustration |
Hi - I'm Dio!
Graphic Designer & Spanglish Lettering Artist Topics
All
My Shops*Affiliate LinksI am often asked what tools I use to create my work, so I’ve incorporated Amazon affiliate links in my posts to products I like, use and recommend. This means that if you click and make a purchase, I will earn a small commission paid for by Amazon, not the customer.
Please note that anything marked with an asterisk (*) indicates an affiliate link. Resources*List of products I use & trust:
E-Courses |
© 2018-2024 Copyright, Dioscelina Perez
42222 Rancho Las Palmas Drive #264, Rancho Mirage, CA 92270
42222 Rancho Las Palmas Drive #264, Rancho Mirage, CA 92270
Proudly powered by Weebly

