|
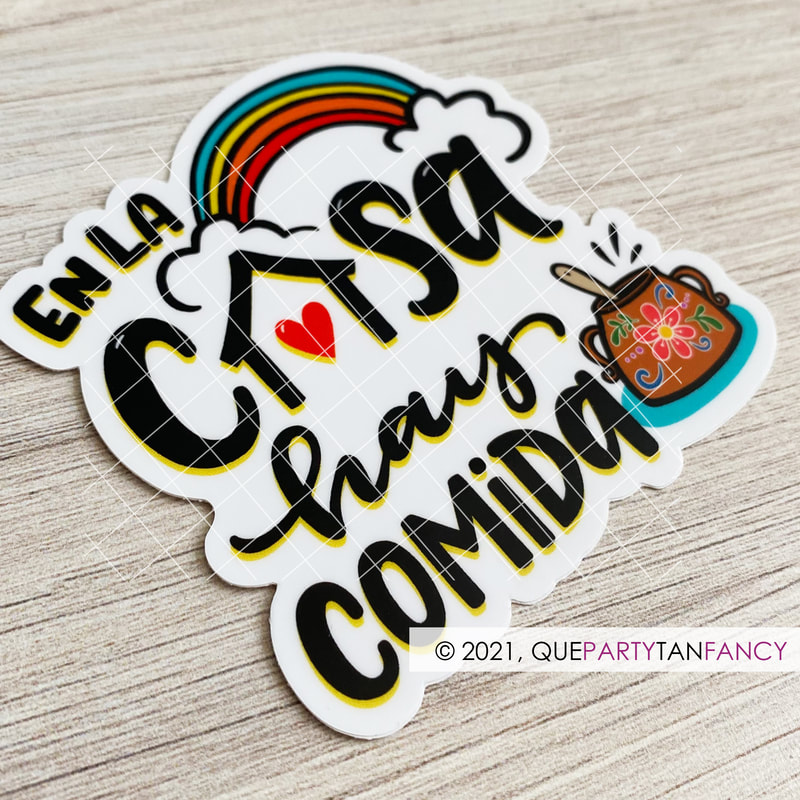
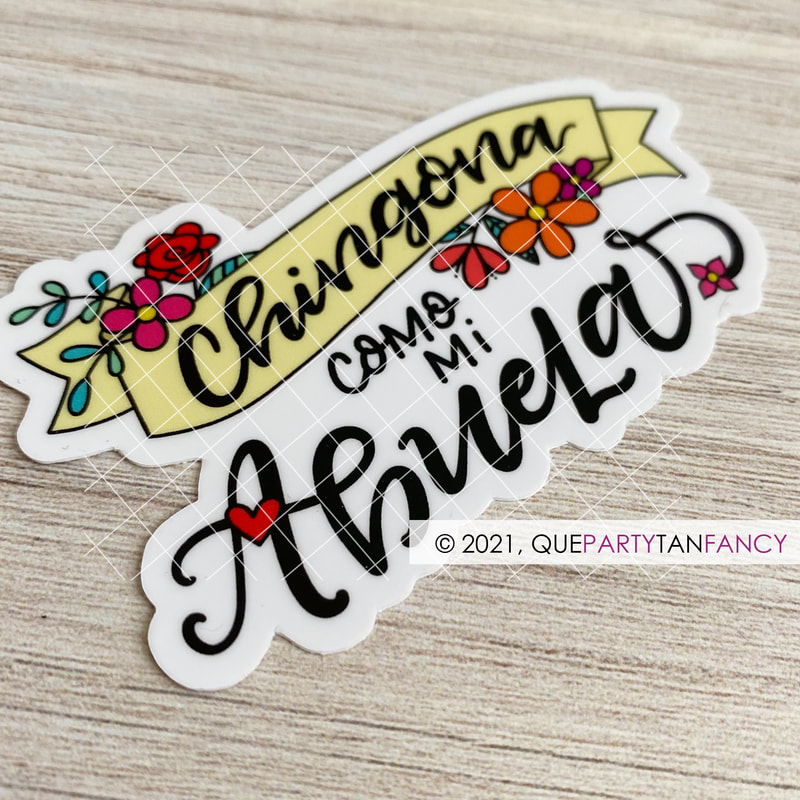
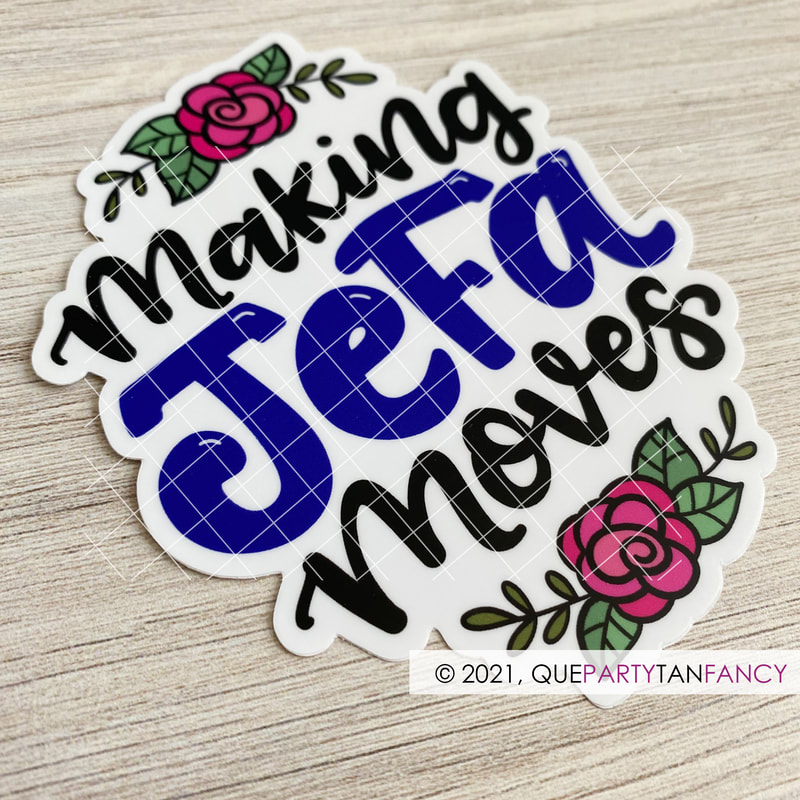
Hola! I'm very excited to announce the launch of 5 new sticker designs, now available in my Etsy shop at QuePartyTanFancy.com.
Click the image above to view a 10 second slide show, and click button below to see my entire sticker collection.
0 Comments
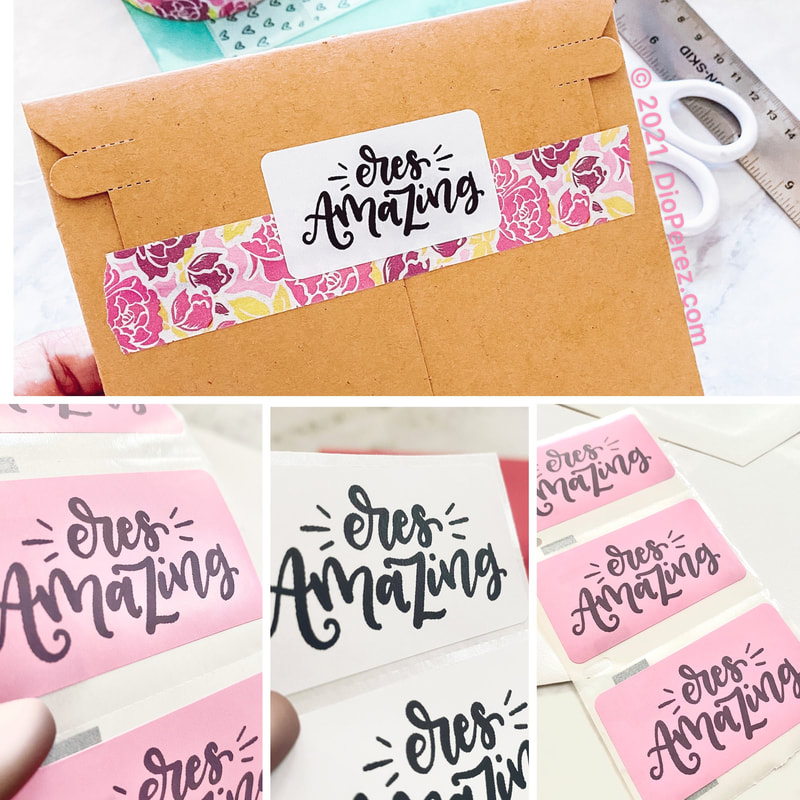 Add a little cuteness and an expression of your gratitude to your packages by adding these cute and inexpensive thermal printed shipping stickers. Please note they printed on my Rollo Thermal Printer*, which means the quality is a little rough...a bit pixelated on the edges, but they still look great.
• Stickers Measure 2.25x1.25 inches • Available in Pink and White • Hand lettered artwork by me, Dio Perez, ©2020 copyright • Orders ship within 2 business days from Palm Springs, California If there are any expressions you would like to have printed on a sticker, please let me know!  Que Party Tan Fancy was born in early 2010 with the idea of providing beautiful invitations and party supplies en Español para la comunidad Latina. I then started a full time job in the fall of the same year and it got put on the back burner. I’d post new items for sale quite sporadically and didn’t advertise much. Then in 2015 I started this new little hobby called hand lettering which transformed the way I look at art. Not only did it make me realize that drawing letters is an actual art form, but it inspired me so much, I’ve been drawing daily ever since which has resulted in TONS of new artwork. Most of it en Ingles since I participate in lots of lettering challenges here on Instagram. But I also started lettering phrases en Español that came from my soul. It wasn’t until recently that after posting another Spanglish piece to my @paisleyinparis IG account and translating the meaning of it for my audience that I thought “Why don’t I just start a new IG feed where I don’t have to have to translate?” You know, para evitar l fatiga. Haha! ~ Anyway, I’m glad you’re here. THANK YOU for following y les garantizo que nos vamos a reir mucho juntas porque growing up, mi familia gave me lots of material to work with today.
I did my first pop-up of the season this weekend in beautiful downtown Palm Springs hosted by Interstellar Comic Books & Gifts. In the last year, I’ve only done a total of three pop ups and I’ve thoroughly enjoyed each and every single one of them because of the connections and friendships I’ve made. The first two times I participated in an event I was selling Lipsense and while I’m still a Lipsense distributor, I put that on the back burner to focus on the stuff that makes my heart sing; creating unique, colorful hand lettered gifts and greeting cards featuring puns and feel-good phrases in English, Spanish AND Spanglish. Below is a short compilation of my Instagram stories that I shared the night before the event as I practiced setting up my display. Let me know what you think! Aside from doing pop ups around town, I’ve also decided to host hand lettering workshops in my home and in the homes or business locations of friends and family. So, if you’re in the Coachella Valley and you’re interested in hosting a lettering workshop or pop-up shop, please send me a note! I’d love the opportunity to co-create an event that is fun for all. 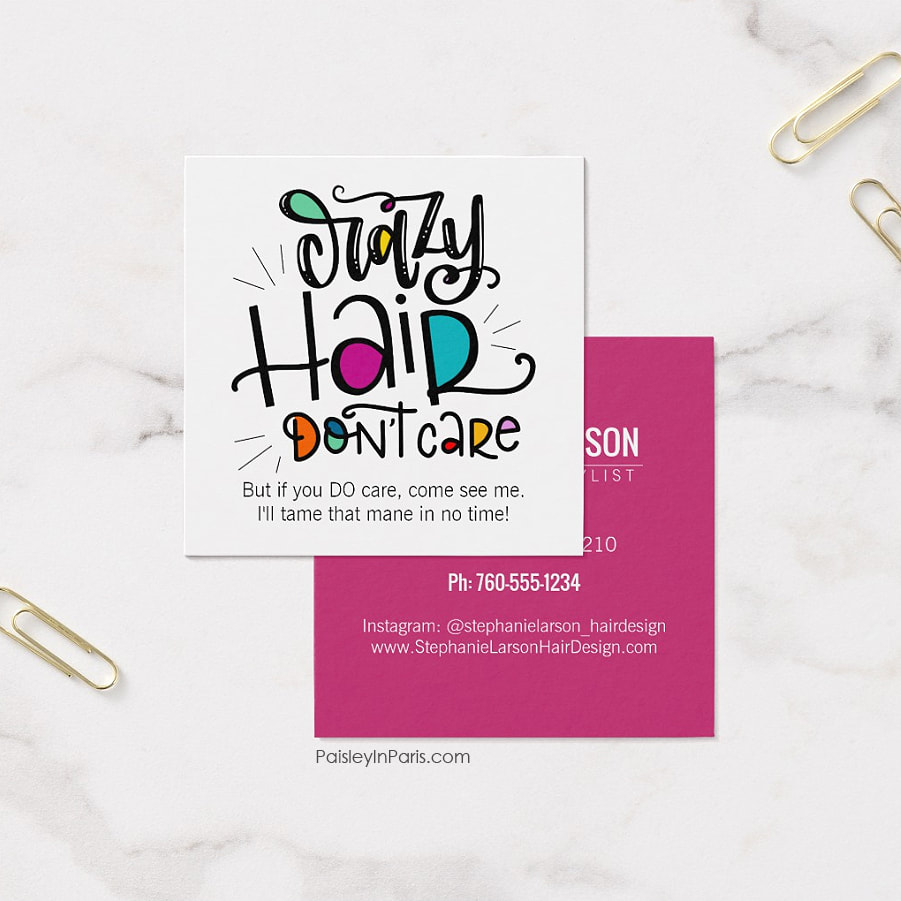 In this digital era of curated images and selective story-telling through our social media feeds, it has become more and more important to let our personal quirks show through as a means to differentiate ourselves from the rest. All of a sudden we have all gone from being just people or business owners to “being” a brand. But how do you become a successful brand? There are many things that lead to success, but one the biggest wins is to be memorable. How do you do that? Well, I’ll give you 3 quick tips to kick-start your imagination and inspire you to come up with other ways that are unique to you and your brand. 3 Ways to be More Memorable
Now tell me, do your business cards match your style? Does your design or lettering style match your personal vibe or are you imitating others? Does the work you’re putting out match the work you want to attract? Are you doing a good job interpreting the vision of the people you are doing lettering/designing commissions for while infusing it with your own creative vibe? These are topics I can dive into a little deeper in the coming weeks, but for now, I want to show you a little something I created a few days ago. It's my latest business card template (shown above), which I created for color-loving hair professionals. The hand lettered design and bright colors are attention grabbing while the tad bit of humor are sure to bring a ready to a smile and spike their interest. Of course not all hair stylists will “vibe” with this card, but for those that do and combine it with a memorable interaction you bet people will want to hold on to it as a tiny little keepsake in remembrance of said interaction. Now assuming you were a hair dresser with a creative business card and tag line along with your stylish sense of fashion, your unique vibe that makes people feel beautiful even BEFORE they sit on your chair – it’s all an expression of creativity and authenticity. And we all know creativity is a lifestyle not just hair style, right? In this same way, I invite you to look at the way you interact with your tribe and customers. What about your business cards, do they match your vibe/style? It reality, business cards are not that big of a deal anymore being that we can reach thousands more people through social media, but for those that do still use business cards I’m sure you’ll agree that there’s something magical about being at a networking event and seeing people’s face light up when they see your card and ask more questions about what you do or who designed them. Business cards have the power to keep the conversation going and when done well, they add to the “being memorable” factor which may result in new friendships, connections, referrals and hopefully more business. Thanks for spending time with me today. Now, I know this has been a one sided conversation so I’d love it if you share a bit of insight with me so that I can finetune the way I design my business card templates. If you have a minute, I’d appreciate you answering the questions below. Thanks a bunch! Till next time.
Xoxo, Dio 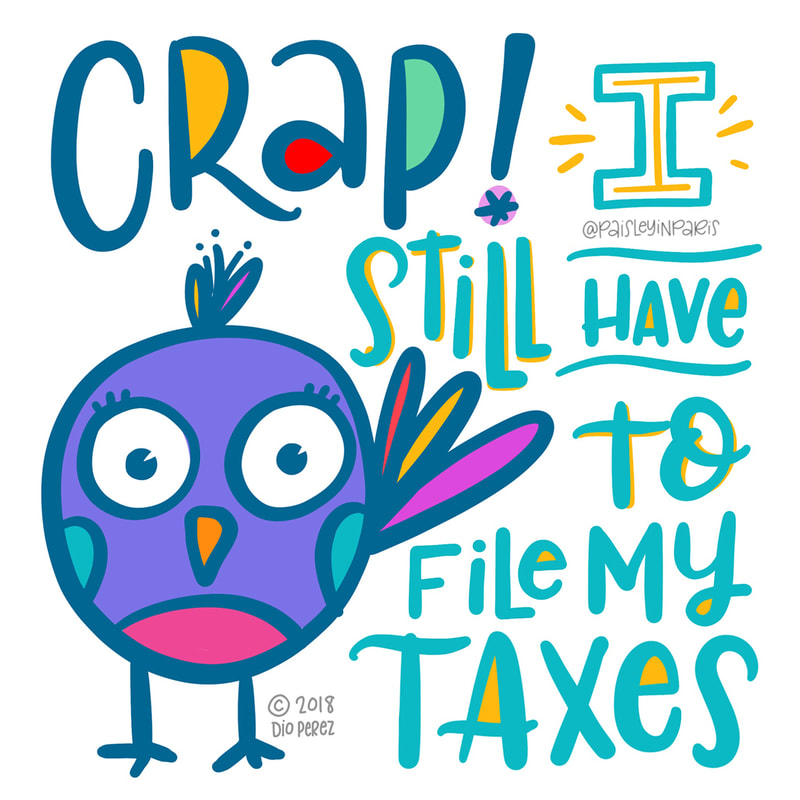 I'm such a procrastinator when it comes to filing my taxes. Mostly because I'm a full-time employee with a side gig so at the end of the year I have a lot receipts to add up to enter all my deductions. I used to be HORRIBLE at keeping organized but along the years I've discovered ways to make the process a lot less painful, thanks to technology. If you're not a numbers person and are having a hard time like I did, here are a few tips to help you stay on track.
Hope you're having a great week so far. As for me, I'm drowning in numbers and paperwork at the moment and I'm telling you, save yourself - don't be like me! I totally dropped the ball this past year and didn't keep up with my bookkeeping. It's April 13th now and guess what? I haven't filed my taxes yet - yikes! So in the middle of reviewing my paperwork in preparation to file my taxes, guess what I did? I took some time to reflect and make a short list of things you can do to prevent being in my shoes next year come tax time again. Keeping your creative business tax-ready in 4 easy steps
Well, duty calls...gotta get back to those numbers and spread sheets, but I'll be back next week with a few stationery design tips so stay tuned! I'll also be back in the "Training Field" with my Bootcamp students, ready to answer your questions and release a couple of new lessons - yay! Have a great week. Your Design Coach, Dio Perez Today I want to talk about a minor mistake I made when I first started my journey as a stationery designer. I had this client I met through a local wedding mixer. She was an event planner who hired me to design her wedding invitations. "Sweet!" I thought, knowing that if I did a great job on her wedding stationery she'd refer me to her clients, so I was very excited to begin on this particular project. Her budget was $200 and she only needed 12 invitations. Yep, 12. She was was having a destination wedding in Ireland inviting only a few family members and close friends. She bought silk boxes before she hired me which were to enclose the invitations I would design. I had a high quality laser printer which I used to print her invitations, allowing us to put most of the budget toward design, details and manual labor assembling layers of beautiful paper to create her one-of-a-kind stationery set. Everything was perfect, except for one small detail. She specified she wanted brown metallic reply envelopes on which I had to print her mailing address. Since black ink from my laser printer wouldn't show on the brown envelopes, I printed the address on gold foil address labels and presented her with a proof. She LOVED everything in the mockups except for the envelopes. And I don't blame her...everything was beautiful except for that fancy foil "sticker" with her mailing address. She didn't approve the stationery for production and requested that the envelopes be printed in gold ink. "The stickers are not acceptable" she said. So I did as she requested and sent the envelopes to the print shop. They came back looking great with gold ink and a thermography finish. Her stationery set was now perfect and I couldn't wait to meet up with her so she could approve the entire ensemble for production. The day came and I happily presented the mockups along with the price list. I was so used to having happy customers all the time, that I felt myself turn pale when she exclaimed "I am NOT going to pay $70 for 12 envelopes!!!" Aaack! I felt like someone punched me in my stomach. I just took a deep breath and I explained that she had already declined to approve the previous option and in order to give her the gold ink she requested, the envelopes HAD to go to the print shop, which came along with print shop pricing. She still refused to approve the ensemble so we ended up switching to pearlized ivory envelopes which I ran through my laser printer and printed with brown ink. I had a knot in my stomach for a week. Thing is, I included the reply envelopes on the estimate AT COST. I wasn't making any money on them, AND I had already paid the $70 for the envelopes and thermography printing. Now I had to eat that cost, which was really upsetting considering that was almost 50% of her original budget. My mistake was that I focused so much on giving her exactly what she wanted that I proceeded to follow her instructions without further discussing the consequences of her request. A mistake I never made again because it helped me develop a process supported by a set of documents that I used on each and every project thereafter. In the end, she was BEYOND satisfied with her stationery, and I was happy that she was happy, but I was also pretty darn disappointed in myself for not having known better. And you know what? This was just ONE of the many mistakes I made at the beginning of my journey. But I must say, a $70 mistake is NOTHING compared to my $800 printer mistake. But I'll tell you about that one another time. I just know that both mistakes could have been avoided if I had some sort of mentor at the time, someone to introduce me to the tricks of the trade and guide me through the process. Instead, I had to discover things for my own, which is okay, but not as smooth of a ride as it could have been. You on the other hand, HAVE that opportunity today. Along with the opportunity to save $20 on Stationery Boot Camp when you use your Early Bird coupon code: SBCFORLIFE2016 Coupon expires today (Saturday, March 19, 2016) at 11:59 p.m. If you're still on the fence, I'm hoping the following questions will help you decide one way or the other.
I leave you with these words from one of my students who enrolled last summer: "You have no idea how valuable this course has been to me. I was very very very lucky to have stumbled upon your website at the perfect time for me... Thank you Kimberly for this wonderful testimonial, and a big thank you to those who have enrolled this week and are already devouring the content. I will be answering your questions soon and uploading those video tutorials I promised. And thank you, my blog readers and email subscribers, for allowing me into your inbox to share with you every now and then a little bit of wisdom and knowledge gained from my 20 year long career. (Yikes! feeling old now...) Join the mailing list to receive graphic design tips, guidance and inspiration that will help you excel in your new career as a custom stationery designer. 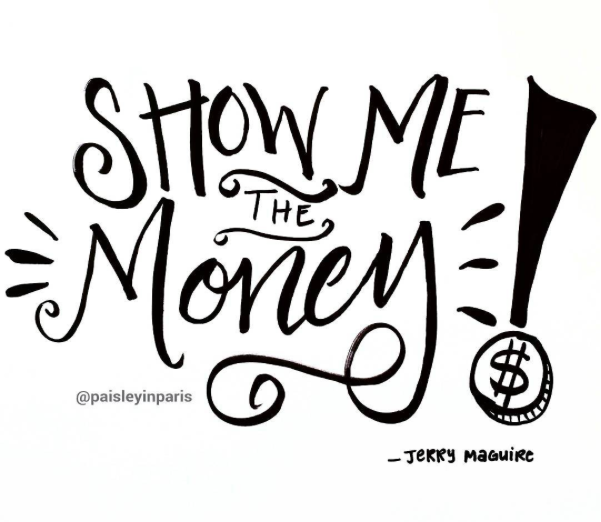
What do you say when someone casually asks you to work on a logo or draft up a few layout ideas for a marketing piece? You channel Jerry Maguire, of course - but much more tactfully!
This is the quick and short version of a more extensive client qualification process. But if they show interest after you mention the process stated above, then they are ready for a full-blown consultation where you will discuss the project goals in greater detail and fill out a creative brief (step 3). Today, I just wanted to remind you not to fall for the old "design something, and if I like it, I'll buy it." If they hesitate or decline to follow your process, it just means they weren't ready to work with a professional. This is good news for you, because it will free up your time to work with someone who truly values your work and appreciates your talent and professionalism. Join the mailing list for more design and business tips delivered right to your mailbox. Please feel free to leave your comments or questions in the comments section below.  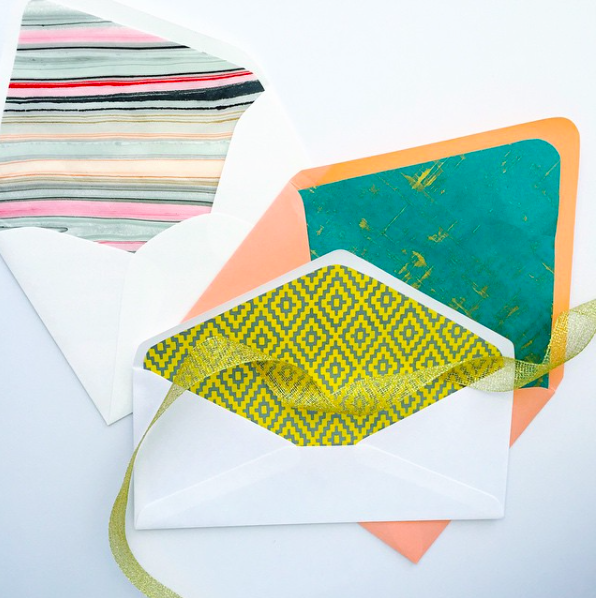
Photo by Simply Sleek Designs
If you're looking for a fun and affordable way to liven up and/or add more personality to your invitations, envelope liners will always do the trick! You can use anything to line them with such as maps, wrapping paper, comics, music paper, wall paper - any kind of paper that adds interest to the design and reinforces the mood or theme you are trying to bring forth through your design.
Just make sure there's enough contrast between the two. If you're using multi-colored or heavily patterned liners, opt for a minimalistic invitation design for best results. And if your invitation design is very intricate, then you'll be better off using a liner that is more subtle. Sure, it might take a bit longer to sit there an manually line the envelopes, but if you're a true paper lover, you'll enjoy the working with the paper in your hands and transforming each individual individual invitation set into an individual piece of art. |
Hi - I'm Dio!
Graphic Designer & Spanglish Lettering Artist Topics
All
My Shops
*Affiliate LinksI am often asked what tools I use to create my work, so I’ve incorporated Amazon affiliate links in my posts to products I like, use and recommend. This means that if you click and make a purchase, I will earn a small commission paid for by Amazon, not the customer.
Please note that anything marked with an asterisk (*) indicates an affiliate link. Resources*List of products I use & trust:

E-Courses
|

© 2018-2024 Copyright, Dioscelina Perez
42222 Rancho Las Palmas Drive #264, Rancho Mirage, CA 92270
42222 Rancho Las Palmas Drive #264, Rancho Mirage, CA 92270
Proudly powered by Weebly